


By Jules Fox
Away weekends are coming up… and we all know what that means. Freshmen have to make coolers for their dates! Now, this is a process that is simply not enjoyable to most if you are not artistic. But, the final product is worth the hours of sanding and painting.
Basically, there are 6 main steps to making a cooler.
1. Buy a cooler
2. Sand the cooler
3. Prime the cooler
4. Let it dry
5. Paint it
6. Then finally use a finishing spray to make it last
Buying the Cooler
You are going to want to spend the least amount of money on the actual cooler part, so I recommend going to Walmart to get it. But, make sure if you are able to, try and get a cooler that doesn’t have logo indents on top. It will make is so much harder to sand and paint.
Sanding the Cooler
This is probably the most annoying part if you don’t have an electric sander. One thing you could do is get one electric sander and share it with all of your friends so each of you don’t have to buy one. And yes, you have to sand every part of the cooler that you are painting!
Prime the Cooler
Spray the primer everywhere on the cooler besides the inside.
LET IT DRY!
Paint the Cooler
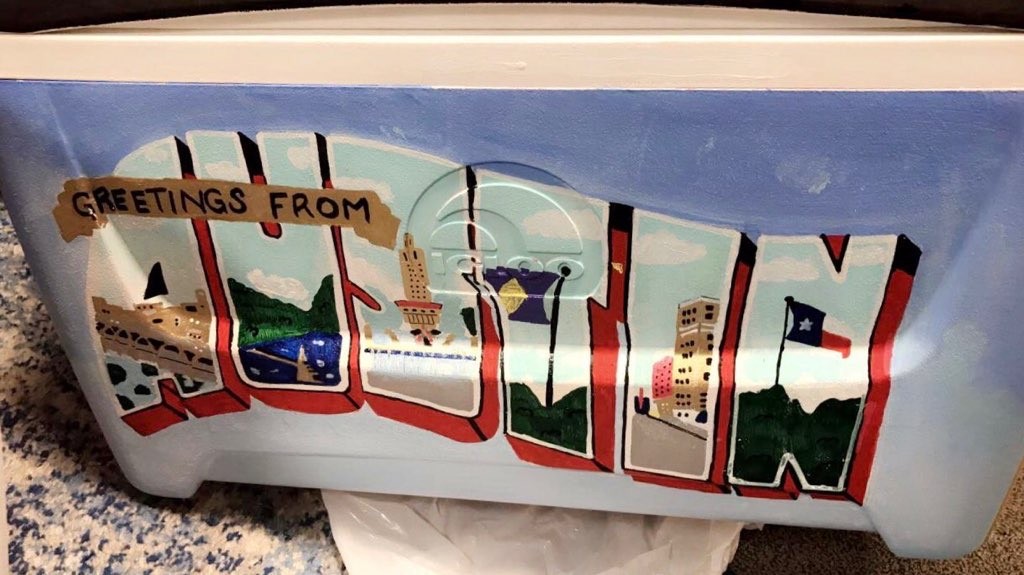
Time to find your inner artiste. Let’s hope you know some stuff about your date so you have an idea of what to paint! Finally, time to head over to a craft store. Acrylic paint lasts a lot longer on the cooler, but it is a little more expensive. Here are examples of some coolers for some #inspo!


Finishing Spray
Lastly, after you have painted the cooler and let it dry, it is time to apply the finishing spray. All you have to do is spray all the parts that are painted and let it dry! Now you are finally complete.
Have fun, and don’t let your date leave your cooler wherever your away weekend is!